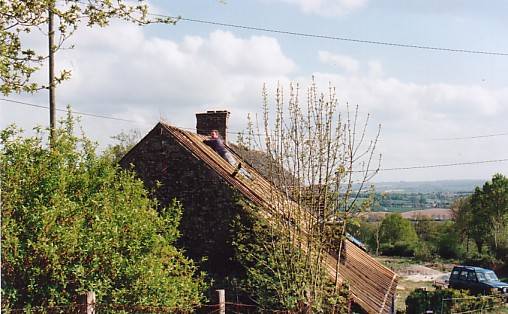
I have read many times that when looking for a property to renovate in France, you should never buy the first house you look at nor should you be taken in by the view and buy it for that reason alone.
This was the first house we looked at although we did look at others before we made an offer. From the pictures you will see on this site, you can see that we probably bought little more than a view.
However, whenever we get a little tired from all the effort we put in, we sit down with a glass of wine look out over the fields and smile....
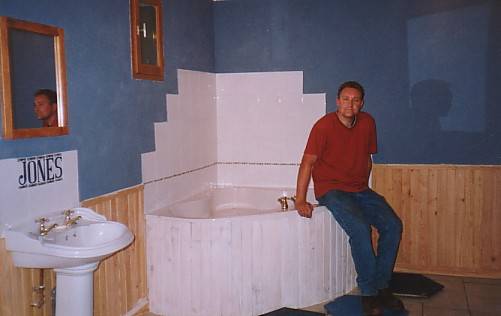
Sadly, when we first started this project in April 2000, we never had a digital camera and all the pictures went to 35mm film. It was only when they were developed some time later, we found that the camera was damaged and many shots were out of focus. This is the only picture I have of our bathroom before we started it.
This is the bathroom in it's first form - the blue has now gone and the wood suffered from the effects of damp when the house was empty during the winter months and so now has been replaced with tiles.
When buying a property, always consider the size of the garden and how you will keep it under control during periods of absence. The last thing you want to be doing is spending the whole of your holiday catching up with an unattended lawn, hedges and flower beds.
We are lucky to have parents who live nearby and caretake our house including regularly cutting the grass whch takes around 3 hours with a sit on lawn mower.
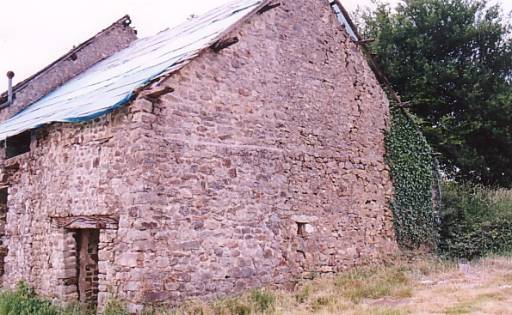
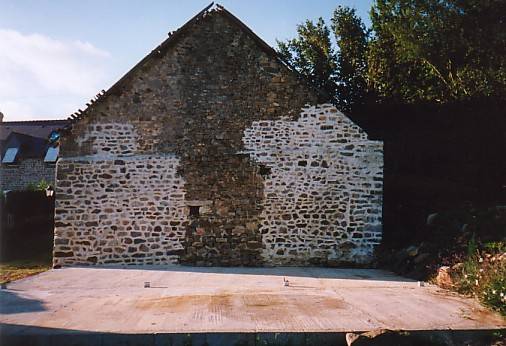
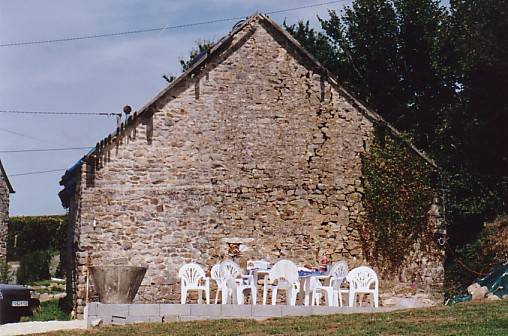
This is the end wall of the property the other side of which will one day be a lounge with doors opening onto the patio. We spent time early on in the project creating a patio as we had no flat area on which to place chairs and tables so that we could eat outside.
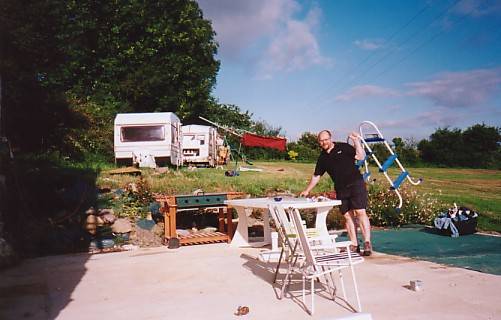
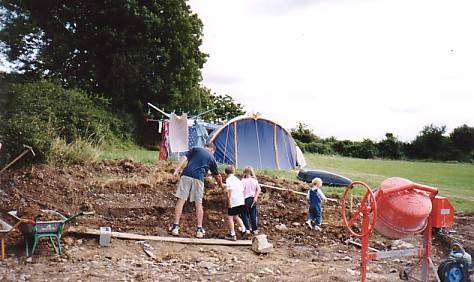
As you can see we had to dig quite deep into the hillside to create a flat area next to the house. Luckily we had a JCB and 3 children to help. You can see our 4 star accomodation we had at that time in the background.
A few days later with some hardcore down and ready to mix some concrete...... is that me sat down taking in the view? It must have been a moment of reflection.
Excellent - A flat surface
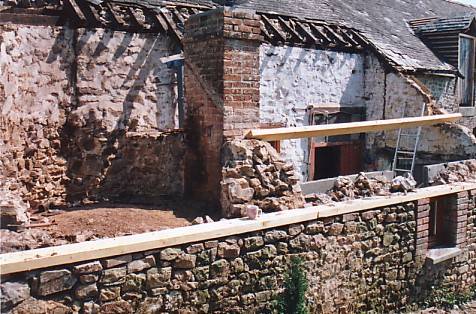
Note the crack down the wall - later to be taken down and rebuilt
Some pointing undertaken here - the french use a combination of white cement, lime, sand and a small amount of colour - in this case yellow which makes the mortar a cream colour. Other colours are available but not traditional for pointing in this area of France
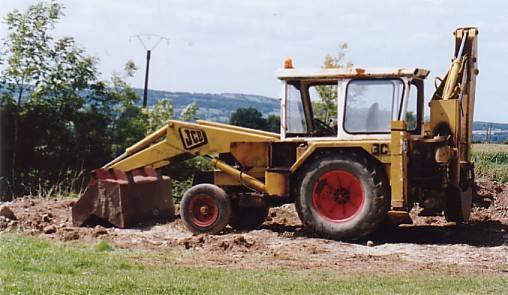
Our JCB - first registered in 1972 but had a more recent leyland truck diesel engine fitted around 1999/2000. It starts and runs well but the lack of brakes makes interesting driving. I find I have to carefully position it, put the legs down and then use the rear bucket - it's not much use with the front bucket - but it sure beats digging with a shovel. I originally got a quote for installing a septic tank at £2000. Not a bad price but I found we could do it cheaper by buying this JCB and a septic tank kit and doing it ourselves. Therefore it paid for itself on that job alone.
Matt - my wife's first husband helping to clear away at the end of a holiday - he has been one of our many visitors who put on their work clothes and help. Note the upgrade to our holiday accomodation in the background.
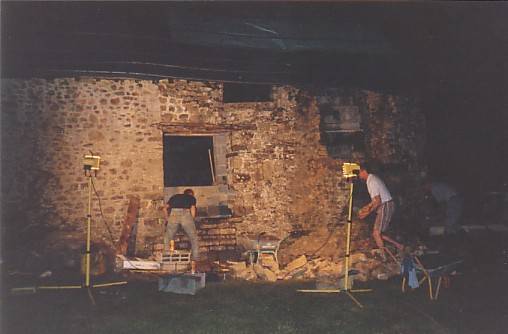
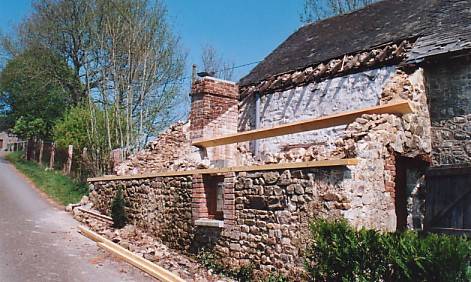
Having worried for some time about a dodgy looking wall, one summer evening having sat and drunk a few beers, I suddenly had a moment of bravery and decided to demolish and rebuild it. Everyone thought it was a great idea and so down the wall came. This picture was taken at about 11.00 pm
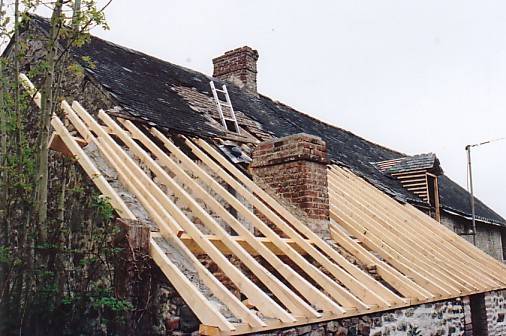
The start of replacing the roof. The original wood was oak rafters on oak purlins. Many of these were bowed and cracked and some had rotted away. My thoughts were to strip them all off and replace with straight pressure treated pine versions. This makes the roof a great deal flatter and easier to slate.
This is eventually turned into the utility room.
I decided to replace all of the wood whilst the roof was stripped away. I also treated it with some 5 star wood treatment which repels dry and wet rot and various infestations including woodworm.
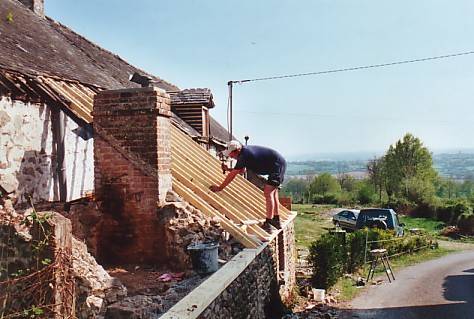
New rafters being cut to size and nailed into place.
On this picture you can see the wedges that I copied from a nearby house fixed to the bottom of the rafters. They provide an overhang at the edge of the roof to take the water away from the wall and provide a fixing point for guttering.
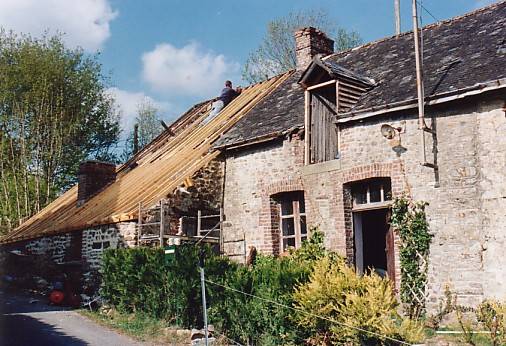
I then stripped away the upper part of the roof and fitted new rafters. The original purlins remained in place on this part of the roof as they were to remain uncovered as a feature in the bedroom.
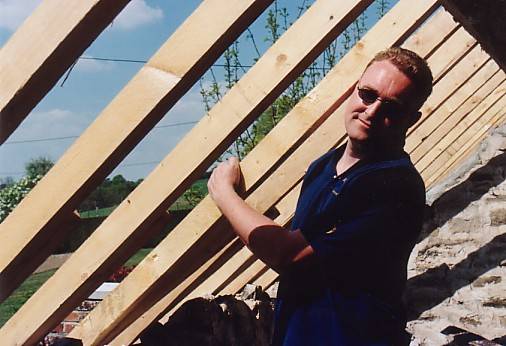
Aligning the rafters on the upper part of this roof and the lower part was quite difficult here but necessary if the slates were to lie flat. I also installed a velux.
I guess I must have been asked to smile for the camera here - it is the closest I have ever been to tree hugging.
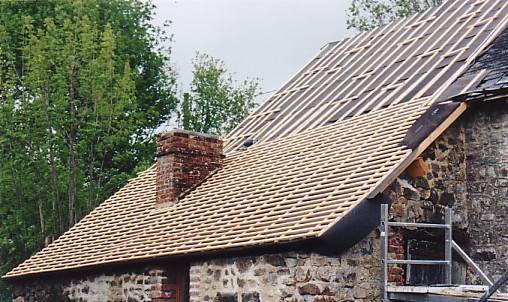
After the rafters are in place, on goes a covering of roofing felt. Laths (or battens) are nailed along and in line with the rafters holding the felt down. A second layer of battens is nailed on at 90 degrees to the first layer and spaced accurately. For the size slates I am using, these battens are spaced 112mm apart centre to centre. You will notice that they form a convenient ladder for walking up and down the roof.
Scroll down to see more images


